PS3 4.82 CFW Installation Guide for Dummies
Welcome to my first Sony Playstation 3™ guide! I'll be covering the installation of Custom Firmware (CFW) on an Official Firmware (OFW) v4.82 console. CFW allows you to run unsigned code often called "Homebrew" on your PS3. Examples of the types of homebrew you can use are a multimedia video player, emulators, game backups and even a program that will remove the Cinavia DRM from the console.


You can install CFW on your PS3 if it is a "Phat" or "Slim" model, but not on the "Super Slim" (top disc loading) models. Not all Slim PS3 are supported so you'll want to make sure to not to mess with the console or otherwise you'll "brick" (ruin) it. You also do not want to try to install the exploit covered in this guide on an already CFW PS3 system or you will "brick".

First off you're going to need to see if your PS3 can be hacked. You can do this by checking the minimum firmware version of your PS3. This is accomplished by running a fake update program on your PS3 that will display the minimum firmware. This method is by far fool proof as simply checking your consoles serial number can lead to assumptions based on what is known about the PS3 models.
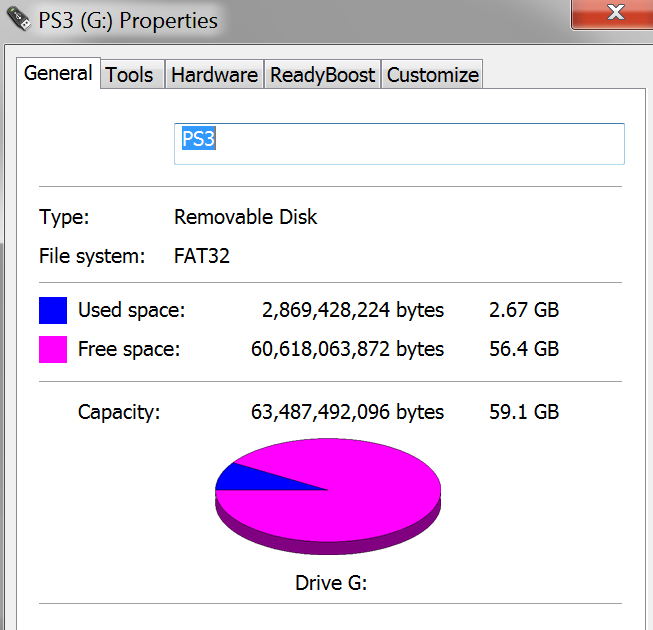

fat32_drive_properties.jpg


ps3update_on_drive.jpg

You'll first need to acquire the "MVC Firmware Checker" RAR file after which you will need to extract using a program like 7-zip or WinRAR. Once you've extracted the archive you'll end up with a file named "PS3UPDAT.PUP" and you need to place it on a USB Hard Disk Drive or Flash Drive which has been formatted using FAT32. Once you have your medium formatted create a folder under the root of the drive named "PS3" (without the quotes) and inside of that folder create another folder called "UPDATE" and then place the PS3UPDAT.PUP file inside of the UPDATE folder.


Min_Ver_Chk-4.jpg

Next insert the drive into your PS3 and then from the XMB™ menu, select (Settings) > (System Update), and then select (Update via Storage Media). Your PS3 will display your USB drive which you will select. You have to run this file via the XMB and not under the Recovery Mode as it won't work (if you don't know what the Recovery Mode is then don't worry about it). After running the update the PS3 will display a string of text containing the minimum firmware version (minver) your console can use. If it displays 3.60 or higher then you will brick your console if you try to hack it using this guide – stop now and go buy a used PS3. If your PS3 displays 3.56 or lower you can proceed.


system_version.jpg

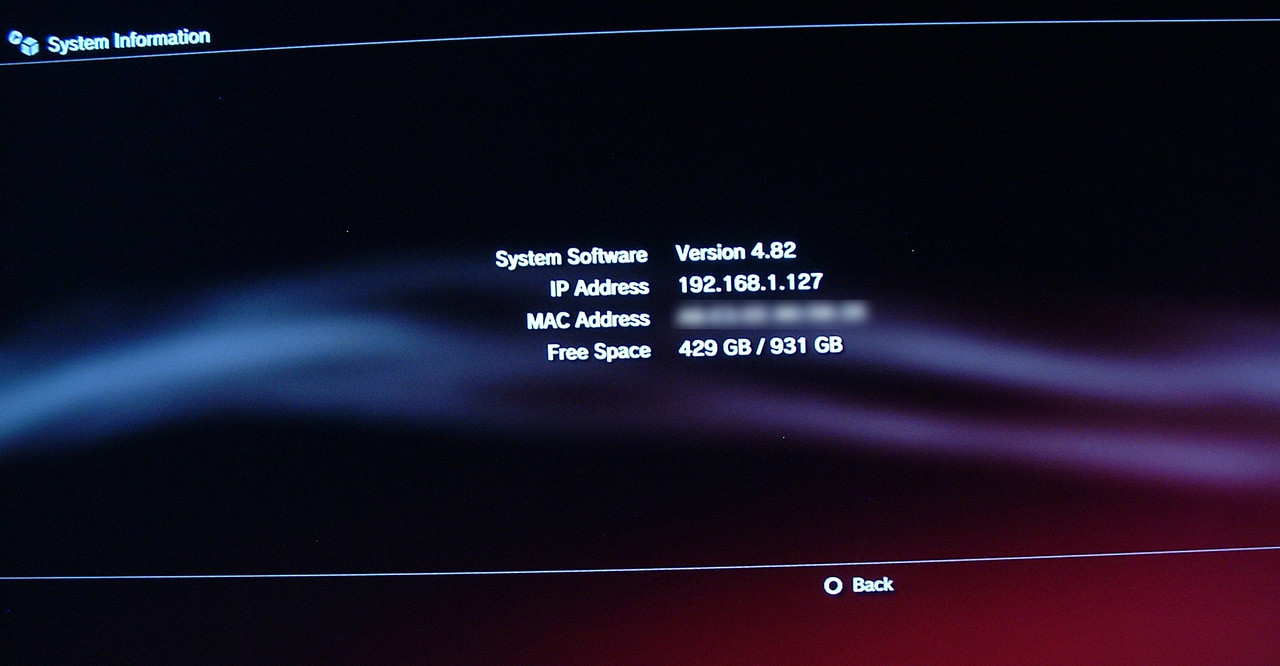
Currently the only firmware version you can hack is 3.56 and lower (this is not covered in this guide) or firmware version 4.82. To check to see which firmware version you're currently using go to (Settings) > (System Settings) > (System Information). If it is 4.81 or less you'll need to upgrade to the latest firmware. I suggest not using the built in firmware update option using the Internet, but downloading the 4.82 firmware and updating the system manually. Make sure to disconnect your PS3 from the Internet and take out any game discs before proceeding.

You'll follow the same steps you took for the MVC Firmware Checker, but this time instead of displaying the minver it will update your console (same deal; just copy the PS3UPDAT.PUP file from the 4.82 OFW archive you downloaded, place it on your FAT32 formatted USB drive under PS3 -> UPDATE and then run the update). Congrats, you now have an exploitable firmware.

The actual exploit that allows CFW installation is a webkit exploit (a bug was found in the Internet browser that is built into the PS3 that allows for CFW to be installed). This is accomplished by using a small web server program that will host the exploit files which you will access from your PS3. It is highly suggested not to use another person/organizations remote webpage to hack you PS3 with as it may contain harmful code or it may steal important files from your PS3 – play it safe and host it yourself.

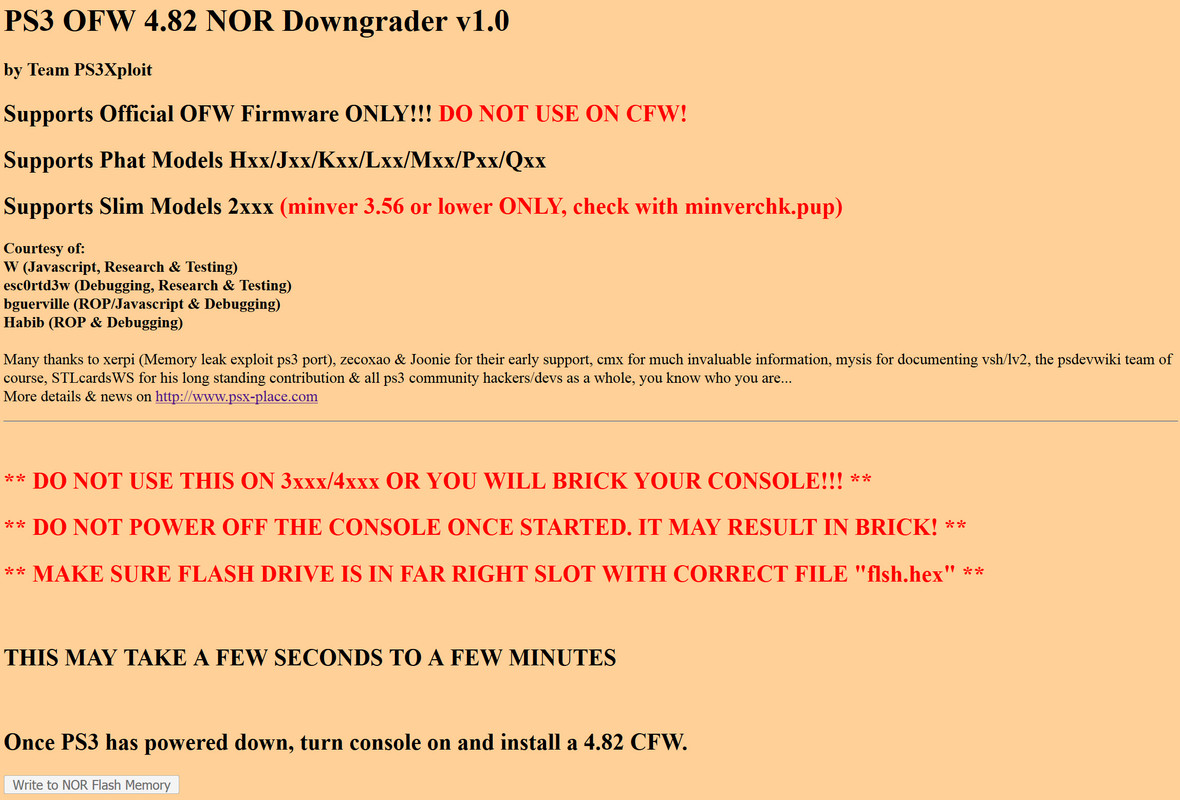
You'll want to download and extract the "NOR_NAND_writer_release_1.0_PS3Xploit.zip" into a folder your desktop and then inside of that folder create another folder named "htdocs". Now select the files "nand-482.html", "nor-482.html" and "xp_rel_writer10.js" files and move them into the htdocs folder you just created. Next take the "flsh.hex" file contained in the "hex-482--COPY-TO-USB-ONLY-IF-482-FIRMWARE-OR-WILL-SOFTBRICK" folder and place it on the root of your FAT32 formatted USB drive.
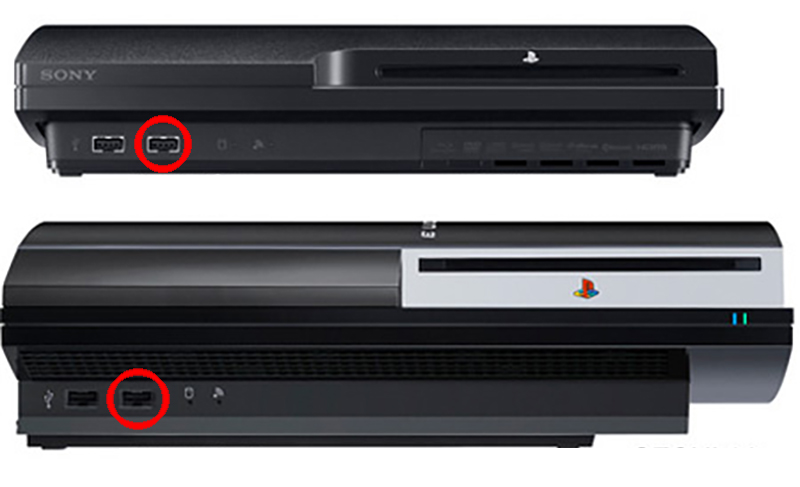
usb_ports.jpg


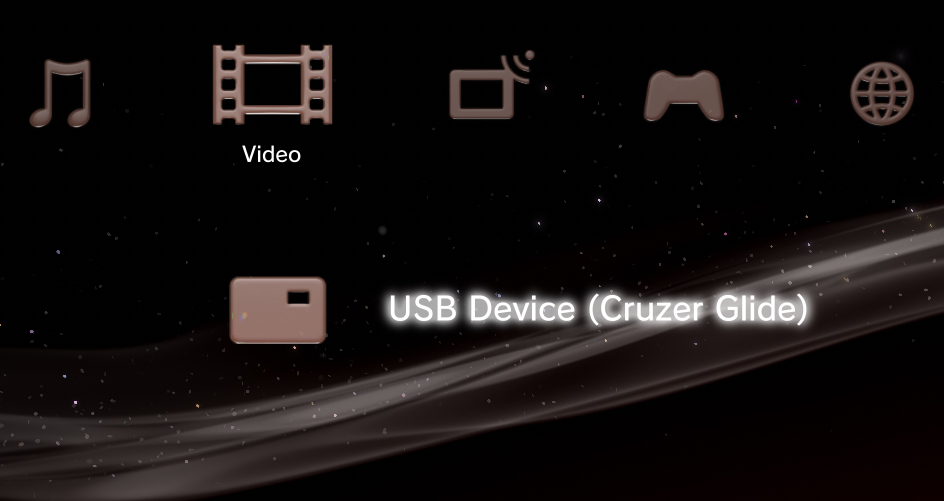
usb_device_showing.jpg

Place the USB drive into the right most USB port (the one closest to the optical disc drive). You should be able to see your USB drive under the PS3 categories on the XMB; if not try another USB drive.


server_ip_address_status_screen.jpg

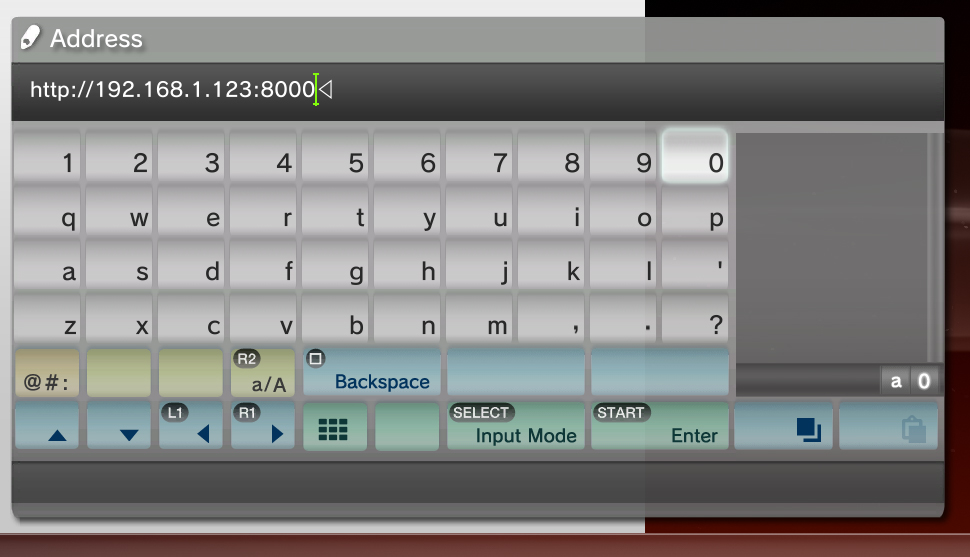
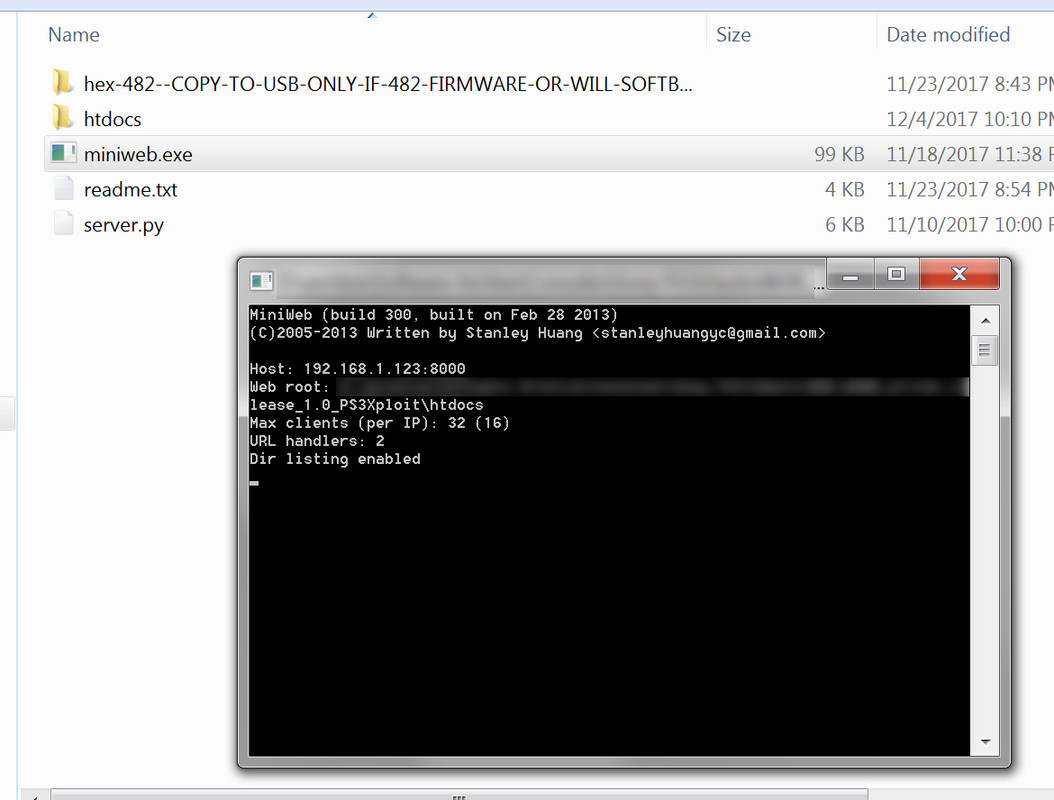
First start off by reconnecting your PS3 to the Internet then double click on the miniweb.exe file (allow it to bypass the firewall if asked) and then take note of the string of numbers after the "Host" text. These numbers are your computers IP address which you will input into the PS3.


browser_blank_page_homepage.jpg


browser_delete_cache.jpg

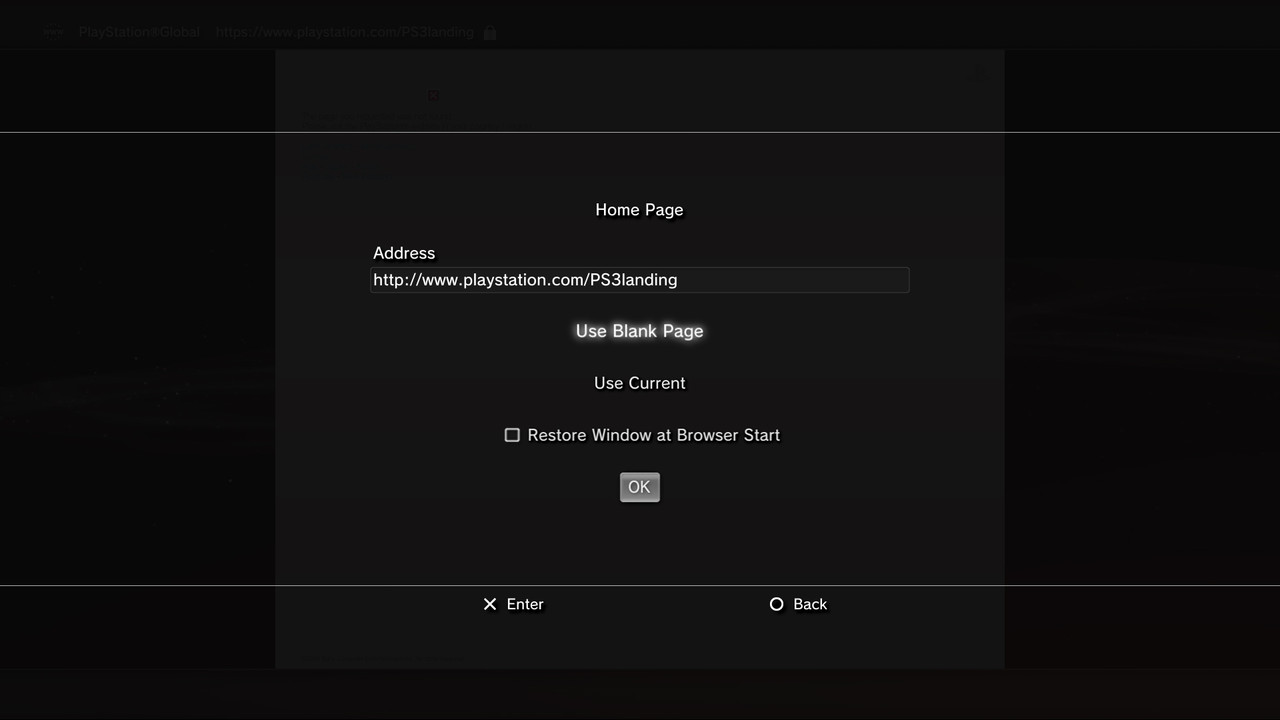
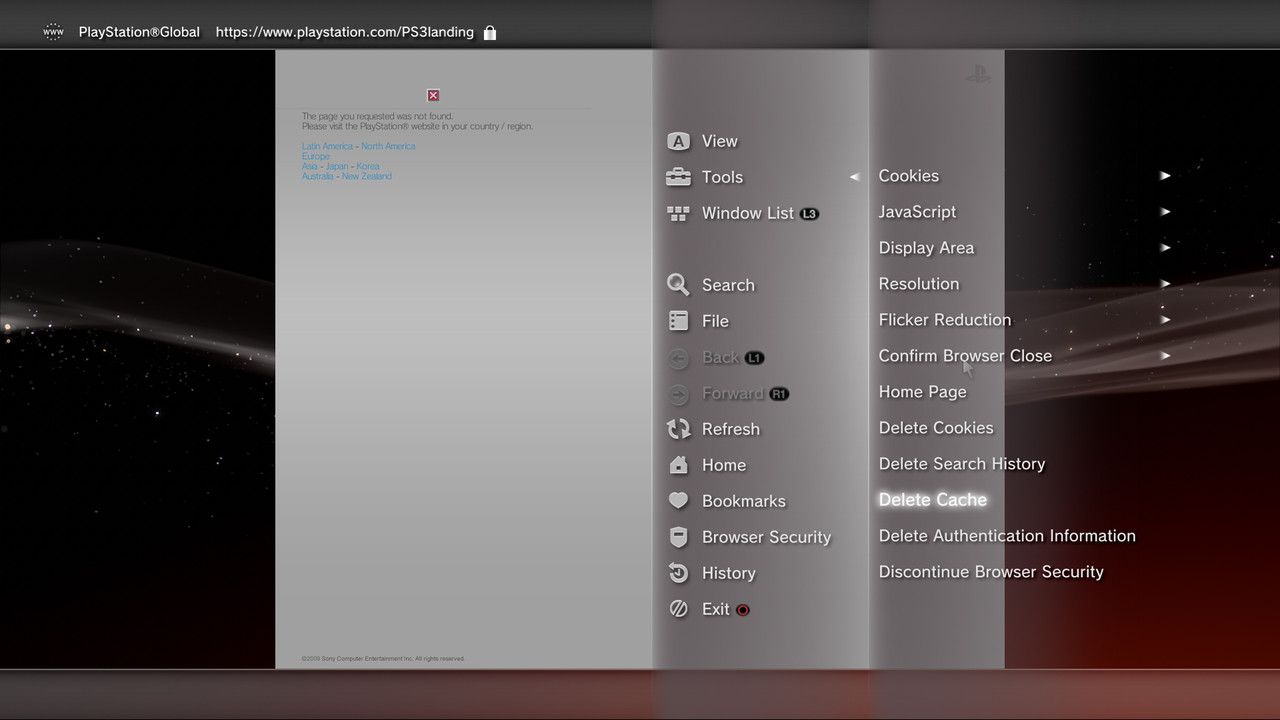
With the USB drive inserted into the right most USB slot containing the "flsh.hex" launch the Web Browser. Next press /\ (triangle) to pull up the options and navigate to (Tools) > (Homepage) and set your homepage as "blank". Next you'll want to access the menu again and this time clear your Internet cache by navigating to (Tools) > (Delete Cache). Once this is done close the Internet Browser and re-launch it. Next press /\ (triangle) and navigate to (File) and then input your computers IP address. It should look something like this …

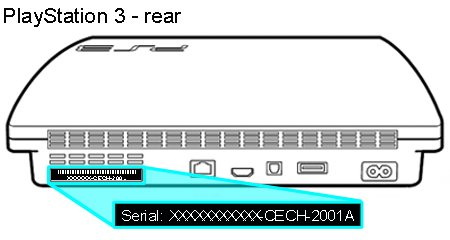
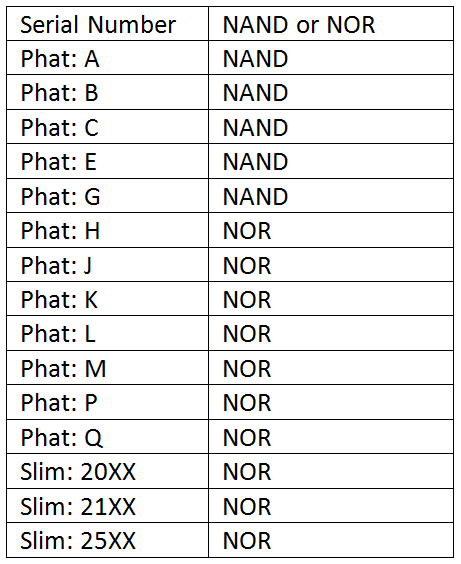
Once you load this page you'll want to select the file that corresponds to the type of flash memory the PS3 uses and system storage. This part is very important. Here is a little chart of the type of flash memory the PS3 uses (either NAND or NOR).
ps3slim_serialnumber.jpg


nand_nor_serial_number_list.jpg

If your console has a NAND chip select "nand-482.html" or if it has NOR select "nor-482.html" and then select the "Write to NOR/NAND flash memory". The exploit will now start itself and you'll be greeted by some green text saying it was successful (this may take a little while to do). Once the exploit is successfully loaded it will then patch your NOR/NAND flash memory with the code contained in the "flsh.hex" file which should be plugged into the right most USB port. The process should only take a couple of minutes as the PS3 will beep and then shut itself down if the code injection exploit worked.

If your PS3 freezes (the virtual mouse won't respond) for more than 10 minutes power down the PS3 by holding the power button down (the one on the PS3 itself). After a few seconds your PS3 will shut down. Turn on your PS3 and then when the prompt to scan the hard drive for errors comes up press O (circle) to cancel it, load the web browser back up and try the exploit again. It may take many tries to get the exploit to work (it took me 3 hours of rebooting until it finally worked). You'll know when it worked when the PS3 beeps and shuts down all by itself.

firmware_on_drive_display_update_section.jpg

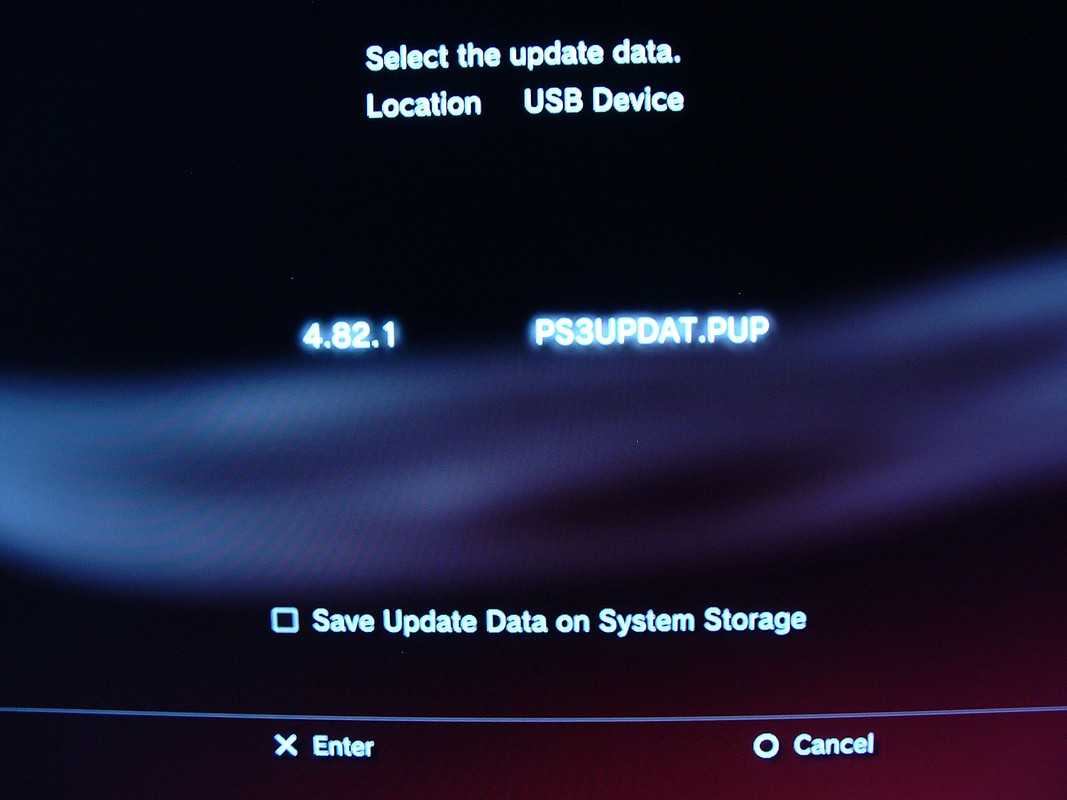
Once you have the patched firmware (you got this by a successful exploitation of the system) you can proceed to install REBUG. First you want to disconnect the PS3 from the Internet and remove any disc in the drive. Next download the "REBUG_4.82.1_LITE_ PS3UPDAT.PUP" archive, extract it, rename the "PUP" file to "PS3UPDAT.PUP" (make sure it's all caps) and then follow the same process for flashing this CFW as already covered in in this guide (remember, place it under PS3/UPDATE on the FAT32 formatted USB drive and then run the System Update option).


1709358192092.png


Once the firmware is installed successfully you now have a homebrew enabled Sony PS3 console! Welcome to the world of homebrew!

guide by cots/pitt - version 1

pitt.png